Getting Started with Script Enhancement and Voice-Over #
We begin by focusing on enhancing your script and generating a professional voice-over specifically for your product videos. This process helps you create a polished, engaging narration that elevates your content quality.
Achieving Studio-Quality Scripts and Brand-Aligned Narration #
In this section, we show you how to improve your script to a studio-standard level and produce narration that aligns perfectly with your brand’s voice, ensuring consistency and professionalism throughout your video.
Opening Your Project in the Editor Workspace #
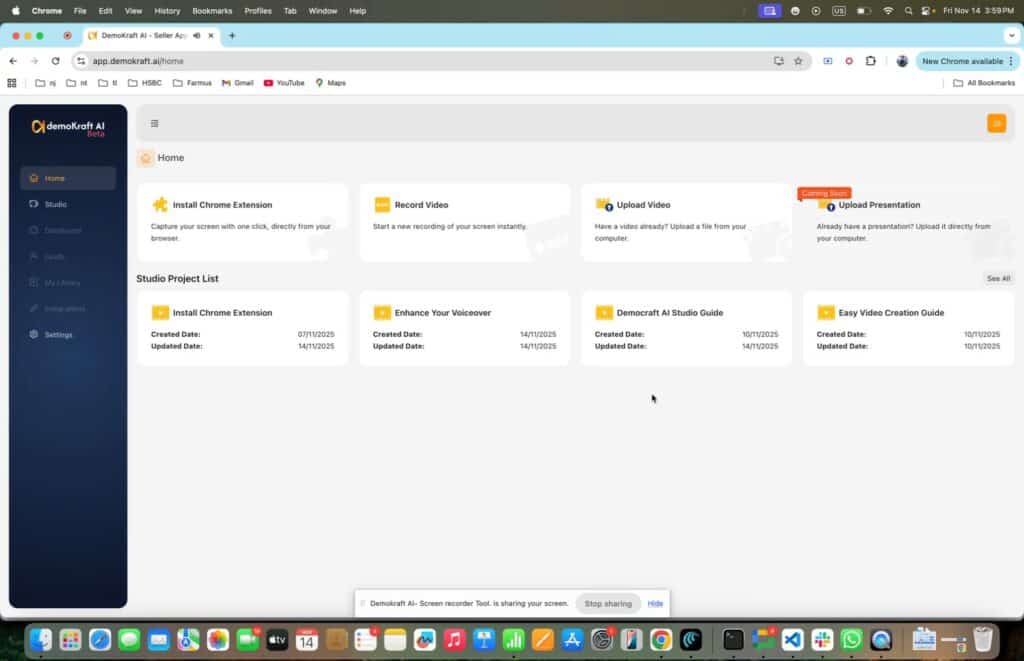
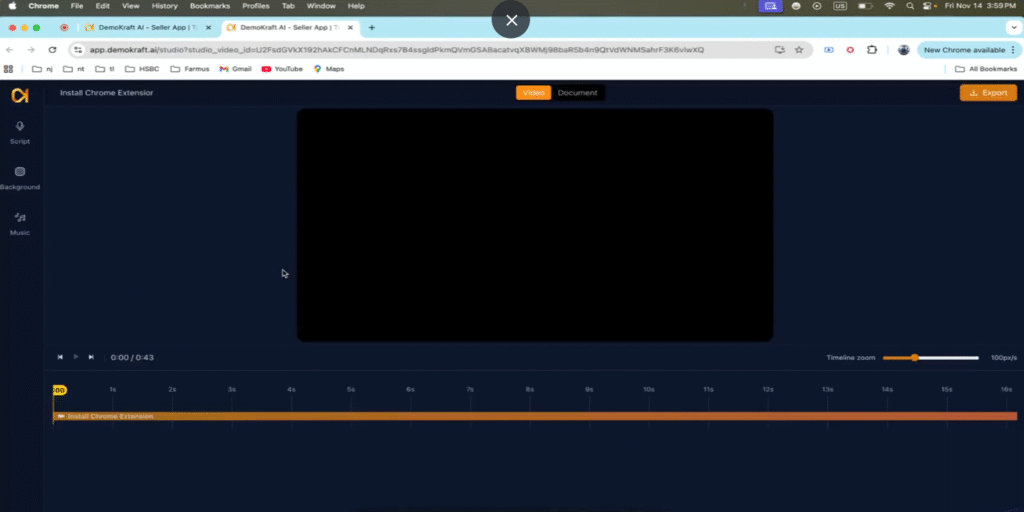
Once you have an existing project or a completed recording, it opens directly in the editor – your workspace where you can prepare, refine, and apply voice-over elements seamlessly to your video content.
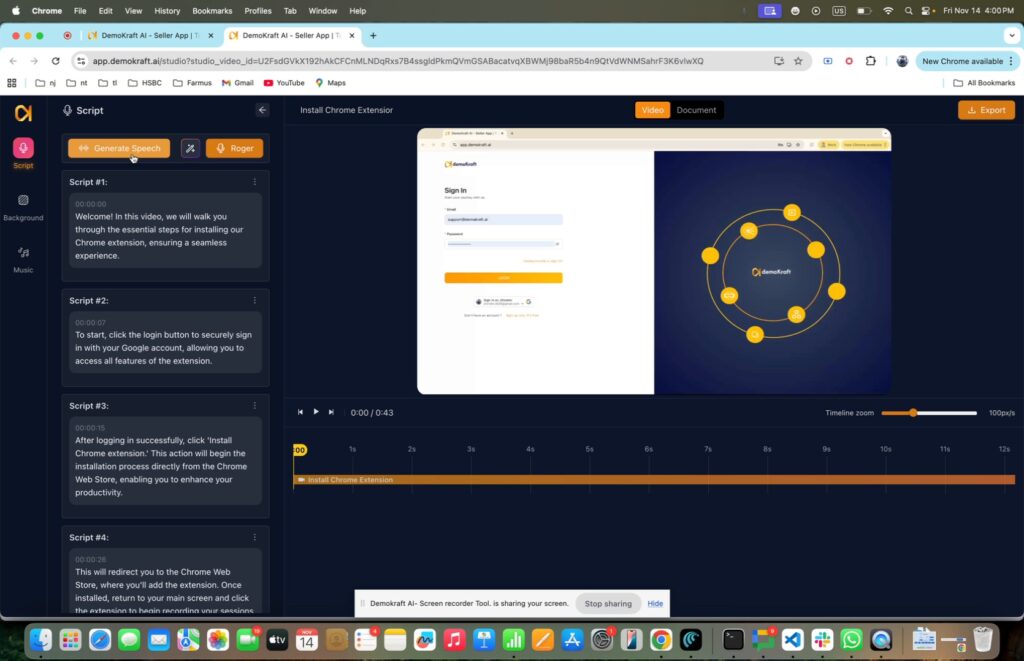
Accessing Script and Voice-Over Enhancement Tools #
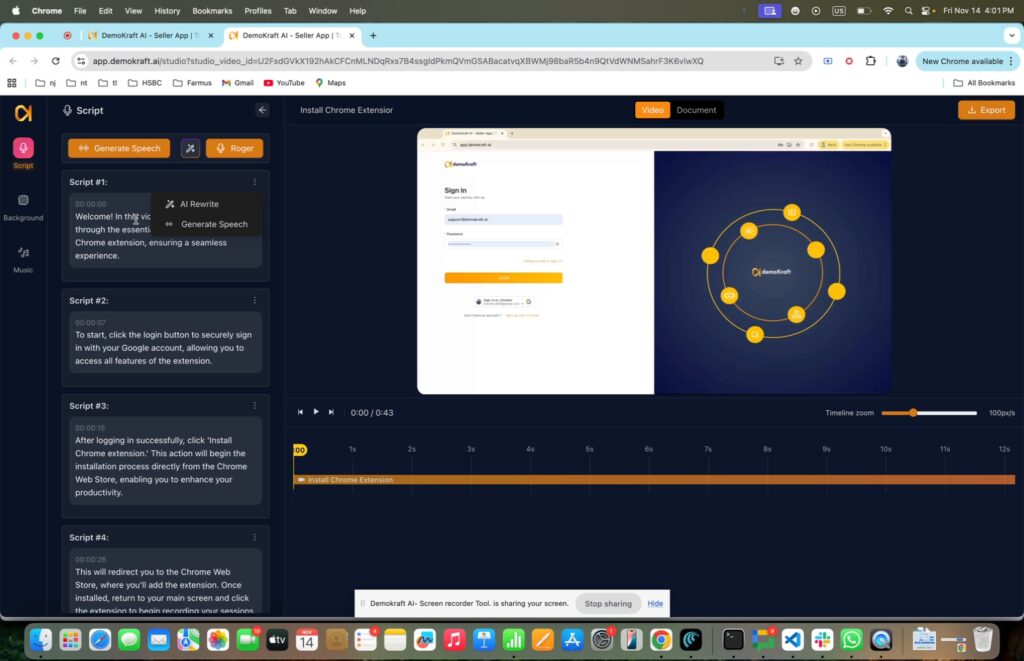
After your project loads in editor mode, navigate to the left menu and select the Script option. This brings you to the panel where you can enhance your script and voice-over settings effectively.
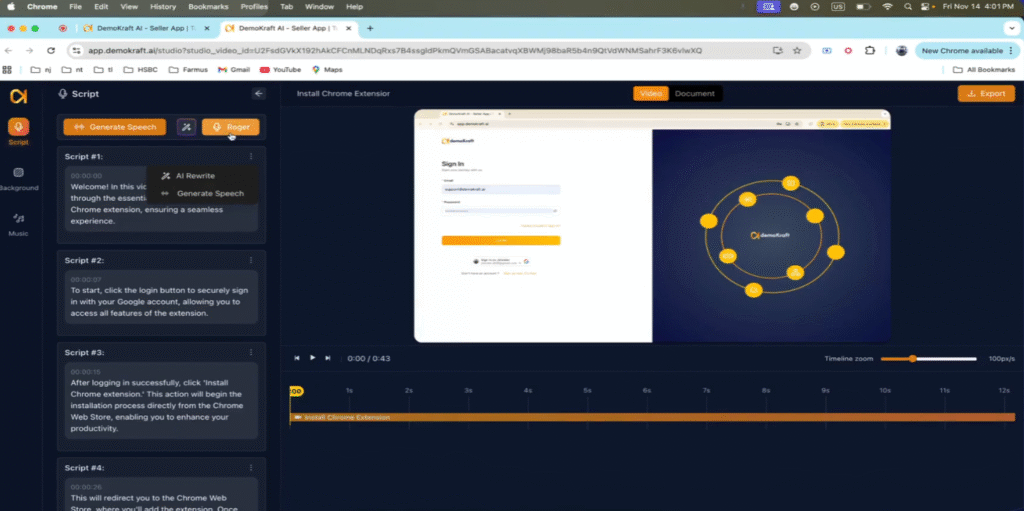
Enhancing Your Video’s Script: Two Options #
Within the Script panel, the first step is to enhance your video’s script. You have two main options to choose from to suit your workflow and goals.
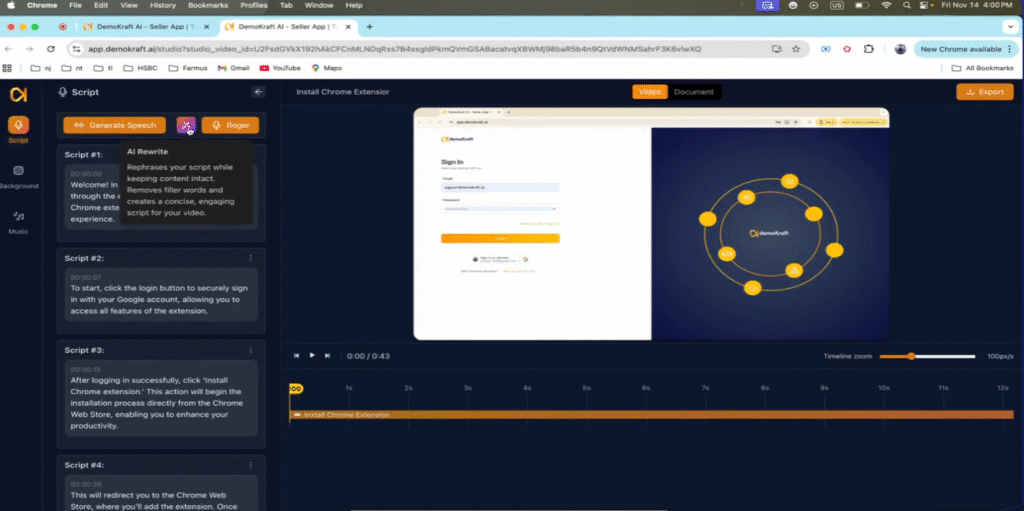
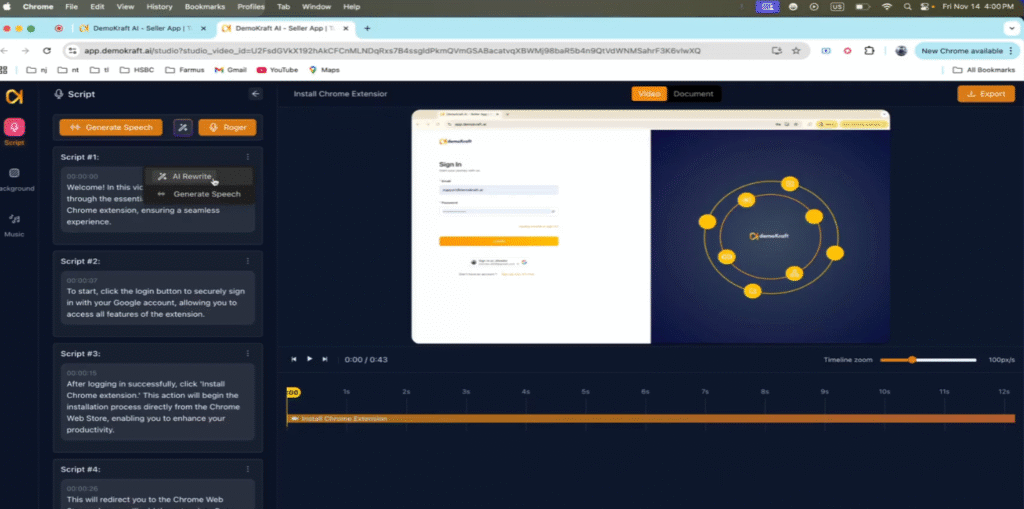
Using AI Rewrite for Full Script Enhancement #
Utilize the AI Rewrite button at the top to enhance your entire script in one single step. This method is ideal for fast, consistent improvements across your whole project, saving you time while boosting quality.
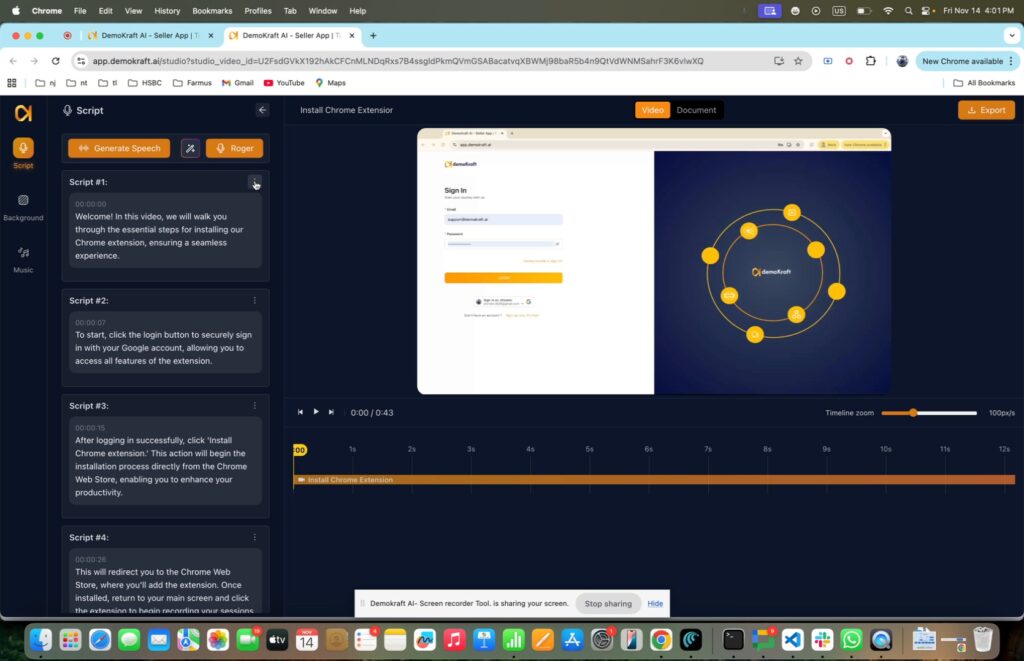
Enhancing Individual Script Segments #
Alternatively, select a specific segment to rewrite. This targeted approach lets you enhance particular lines without altering the rest of your script, giving you precise control where needed.

Benefits of Script Enhancement and Voice Selection #
Whether you enhance your script fully or by segment, this process elevates your script to studio quality and eliminates common issues. Next, choose from the available voices to preview and apply to your narration.
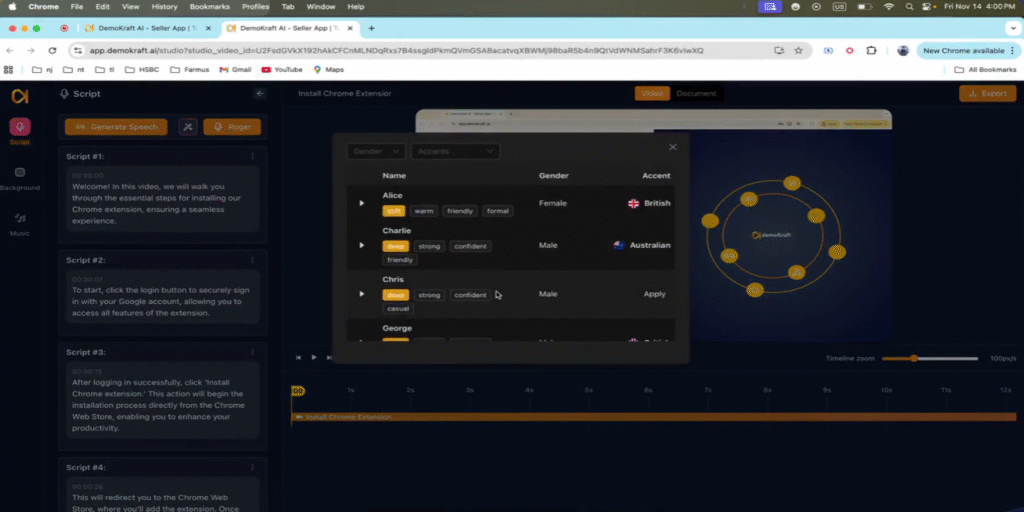
Choosing and Applying the Best Voice for Your Brand #
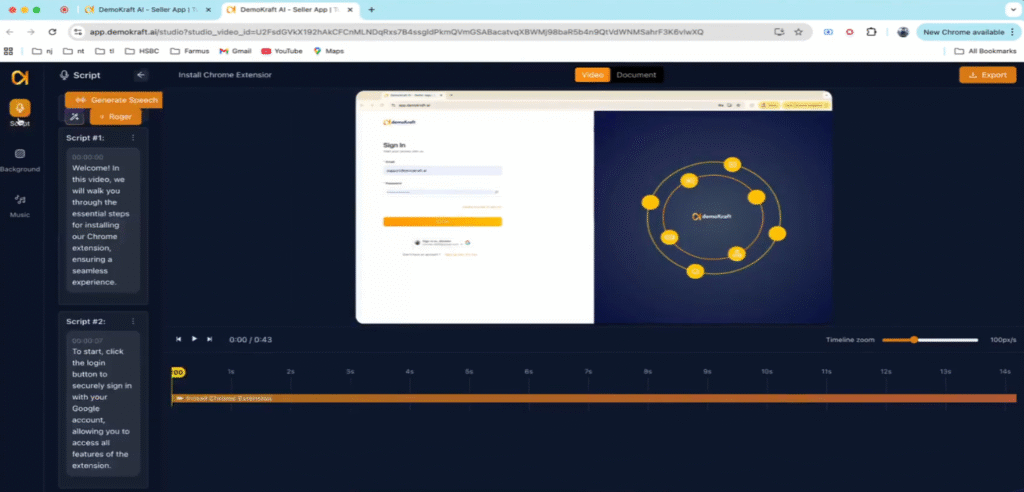
Explore the voice options and select the one that best fits your brand identity. Once chosen, apply the selected voice to your project to unify the narration style and enhance audience connection.

Enabling Speech Generation #
After applying a voice, the Generate Speech button becomes active, allowing you to proceed with producing the voice-over narration based on your script and voice choice.
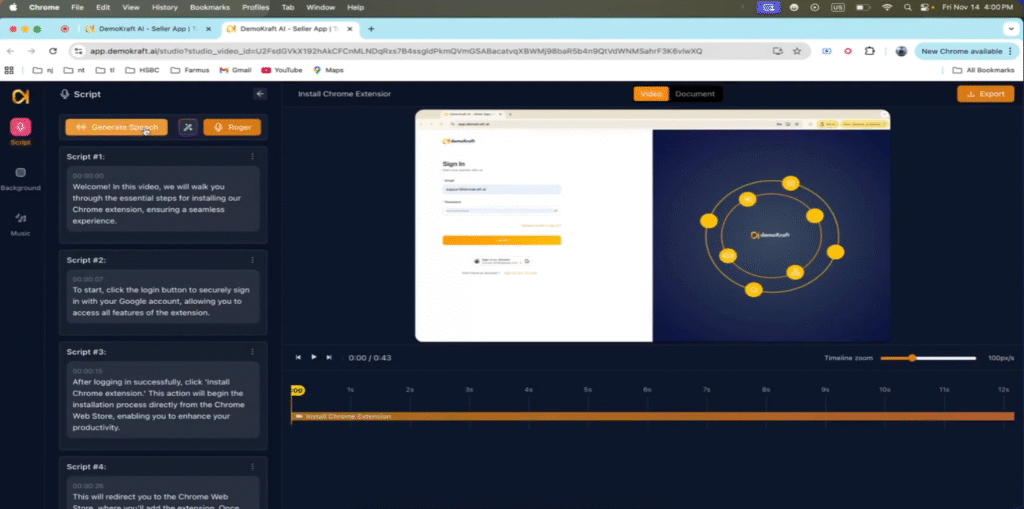
Generating Voice-Over for Your Script #
Click Generate Speech to start creating the voice-over for your entire script. This initiates a background process that applies narration to your video, automating voice production while maintaining quality.

Managing Processing Time Based on Video Length #
Keep in mind that processing time varies depending on your video’s length. Longer videos require more time for narration generation, so please be patient as the system completes this step.
Regenerating Speech After Script Edits #
If you edit your script in a single segment or enhance the full script, remember to regenerate the speech. This ensures the audio narration matches your most current script version accurately.
Background Regeneration of Segment Narration #
By clicking Generate Speech again, you trigger a background regeneration of narration for the selected segment, using the voice you previously selected to maintain brand consistency.
Aligning Voice-Over with Your Revised Script #
This process updates your voice-over so that the narration perfectly aligns with your revised script and chosen voice, enhancing the professionalism of your product walkthroughs.

Finalizing Your Video with Professional Voice-Over #
Your video is now ready, featuring a consistent and professional voice-over that enhances your product presentation and engages your audience effectively. Thank you for using these tools to elevate your content.