Overview of Scene Options #
The system provides scene options that can be applied to your project. These options include Intro Template, Outro Template, and Chapter Break Template.
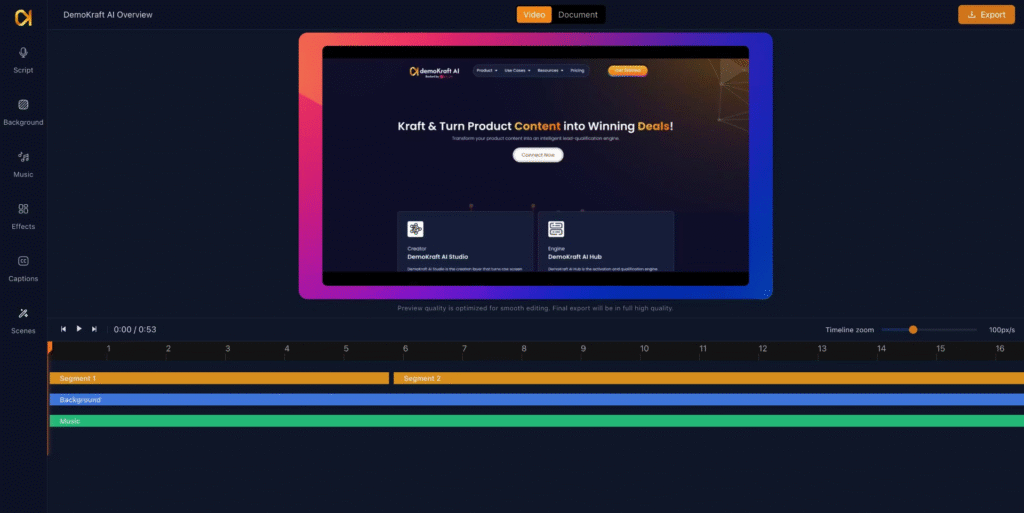
Accessing Scene Options in Studio Mode #
Open your existing project in studio mode to access the scene options. The scenes section is located on the left-hand side of the interface.

Available Scene Types #
There are three primary scene template options:
- Intro Template
- Outro Template
- Chapter Break Template You select one of these to customize and add to your project.

Applying an Intro Template #
To apply an intro template, click on the Intro Template option. Then choose your preferred template from the available options by clicking the add button next to it.

Customizing the Intro Title #
After adding the intro template, enter a title for the intro segment to reflect your content.

Adding an Intro Subtitle #
You can also add a subtitle in the intro template to provide additional context or welcome message.

Selecting Background Tone for Intro #
Choose from background tone options such as Warm, Cool, or Pure White to set the mood and appearance of your intro scene.

Choosing Accent Color #
Select an accent color that aligns with your brand identity to customize the visual elements of the intro scene.

Accent Color Application #
Apply the chosen accent color to enhance branding consistency within your intro template.

Title Color and Font Style Customization #
Adjust the title color as needed, keeping visual harmony in mind. Select a font style, such as Poppins, to match your design preferences.

Setting Intro Duration #
Control the display duration of the intro scene by increasing or decreasing the time. The default is three seconds, but you can set it, for example, to four seconds.

Applying the Intro Template #
Click the Apply button to generate and add the intro segment to the beginning of your project. This action finalizes the intro’s inclusion.

Accessing and Applying Chapter Breaks #
Navigate back to the scenes section to select the Chapter Break option. You can apply chapter breaks at any point within your project timeline to segment content.

Choosing a Chapter Break Template #
Select a chapter card template from the available chapter break options by clicking the add button.

Configuring Chapter Break Label and Number #
Specify the chapter label text and the chapter number to clearly identify and organize different sections within your project.

Defining Chapter Title #
Enter the title of the chapter to indicate its content focus.

Adding a Subtitle to Chapter Break #
Include a subtitle for the chapter break scene to provide supplementary information or welcoming text.

Selecting Background Tone and Layout for Chapter Break #
Choose the background tone, such as cool, and set the layout alignment (left, right, or center) of the chapter break scene.

Customizing Brand Color for Chapter Break #
Select the brand color to maintain visual consistency for the chapter break scene.

Setting Font and Chapter Number Display #
Choose a font type and confirm the chapter number display styling within the chapter break card.

Adjusting Chapter Break Duration and Applying #
Set the scene duration, defaulting to three seconds, with options to increase or decrease the time. Click Apply to add the chapter break to your project timeline.

Applying Outro Templates #
Access multiple outro templates to select and add an appropriate ending scene to your project.

Customizing Outro Headline #
Modify the headline text within the outro template to deliver your desired closing message.

Setting Call to Action (CTA) Label #
Configure the CTA button label within the outro template, selecting from available button options such as “Sign Up”.

Adding Outro Subtitle #
Include a subtitle or secondary label to complement the outro scene’s messaging.

Customizing Outro Colors and Fonts #
Adjust colors for various outro elements including background, CTA button, CTA text, and headline. Select a font style consistent with your branding.

Setting Outro Timing and Applying #
Define the timing duration for the outro scene and click Apply to integrate it into your project.

Managing Scene Additions #
You can add and configure multiple chapters, as well as apply intro and outro templates, to structure your project effectively.

