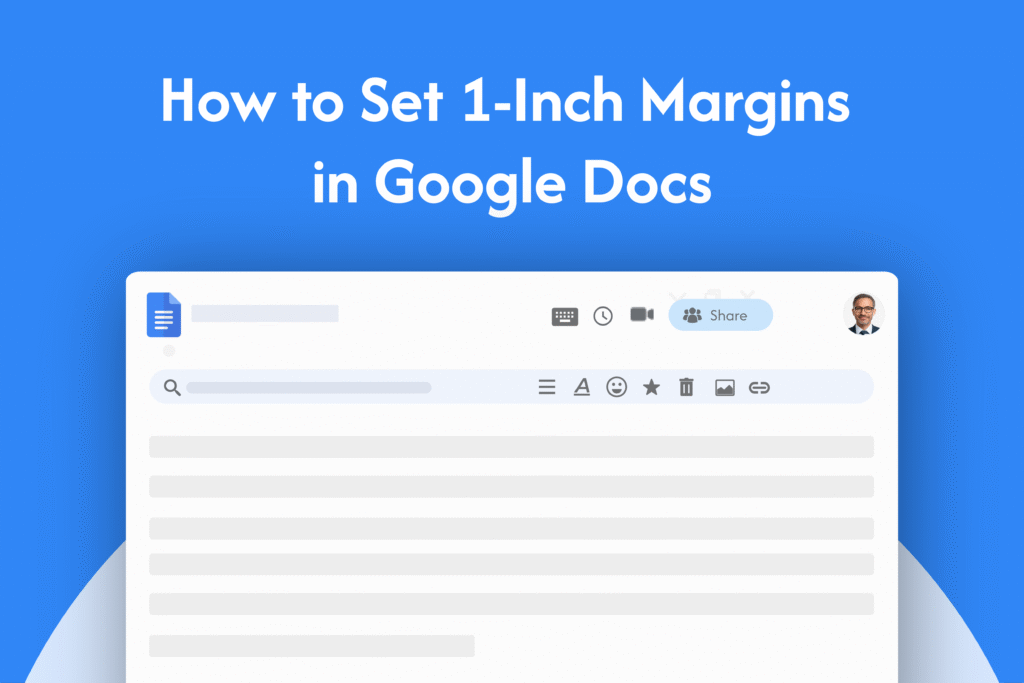
If you’re working on an assignment or a properly formatted document, you’ll often need to set 1 inch margins on Google Docs. The process is quick once you know where the setting is.
Set 1 inch margins using Page Setup
This is the most accurate way to adjust margins in Google Docs:
- Open your document
- Click on File in the top menu
- Select Page setup
- In the margin fields, enter:
- Top: 1
- Bottom: 1
- Left: 1
- Right: 1
- Make sure Apply to → Whole document is selected
- Click OK
Your document will now have 1 inch margins on all sides.
Use the ruler for quick adjustments
If you want a faster way to change margins:
- Go to View → Show ruler (if it’s not visible)
- Drag the grey margin markers to the 1-inch mark
This method is useful for quick edits, but for exact settings, Page Setup is more reliable.
How to check if margins are set correctly
To confirm your margin settings:
- Go to File → Page setup
- Make sure all margins are set to 1 inch
Why 1 inch margins are used
- Standard format for most academic and professional documents
- Makes your content easier to read
- Keeps formatting consistent across different files
Quick tip
If you’ve copied content from another document, margins can sometimes change automatically. Before submitting or sharing your file, it’s always a good idea to double-check.